Single sign on - SSO options
SSO is available as a paid Add-on for any CloudControl device plan or Enterprise DevSpace plan.
SSO is currently NOT available for White-label instances of signageOS Box.
signageOS supports the vast majority of SSO options using the Okta/Auth0 service.
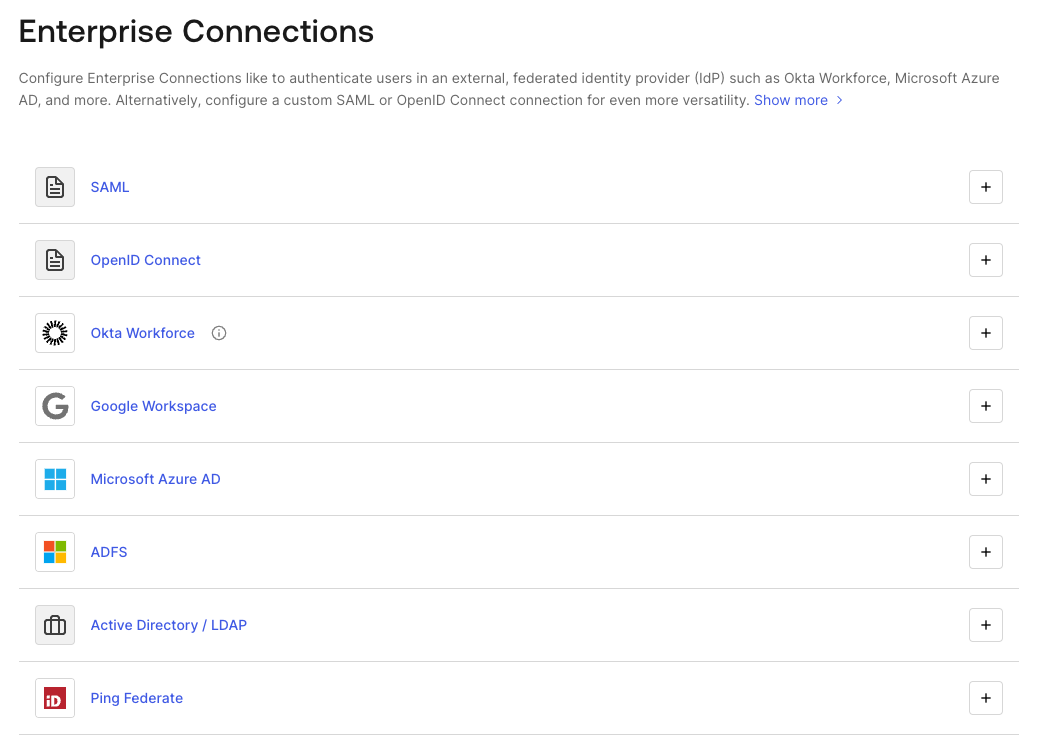
Enterprise Connections like to authenticate users in an external, federated identity provider (IdP) such as Okta Workforce, Microsoft Azure AD, and more. Alternatively, configure a custom SAML or OpenID Connect connection for even more versatility.
SSO service is always enabled on the Company level, allowing you to define:
- SSO protocol
- Company-owned domains
- Default user's roles
A list of all supported SSO options can be found on the Auth0 website: https://marketplace.auth0.com/features/sso-integrations
Multi-Factor Authentication (MFA) and SSO
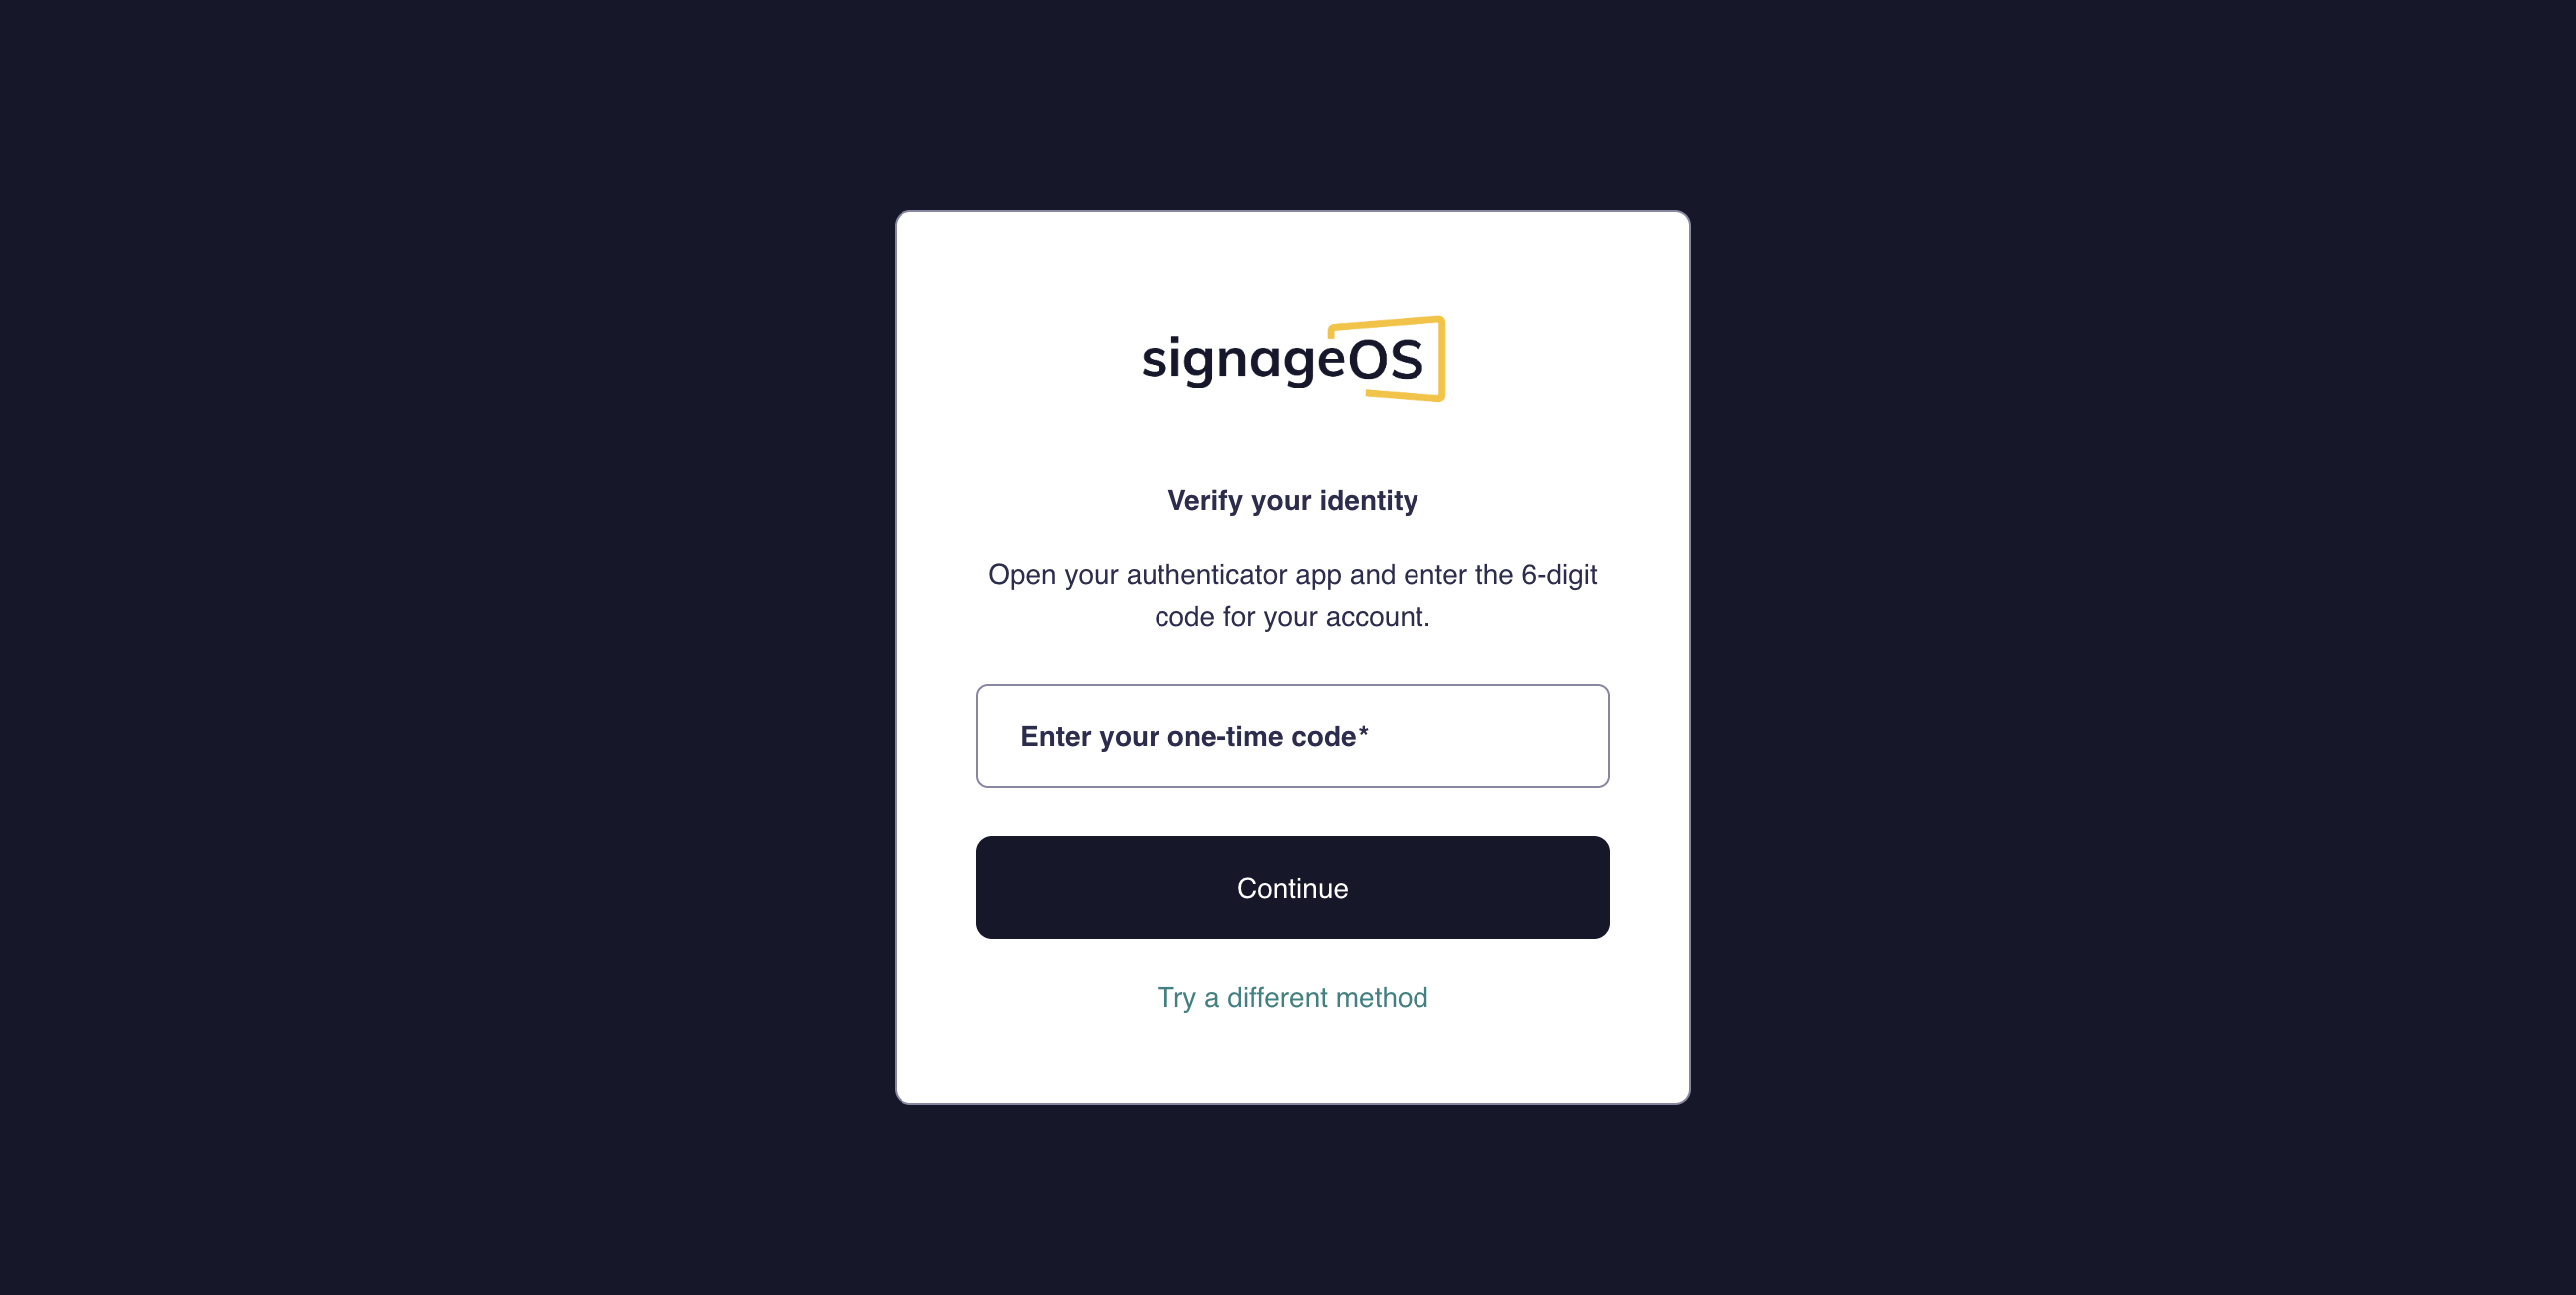
Multi-Factor Authentication (MFA) applies only to accounts that sign in with email and password. When MFA is required for such an account, the user is prompted for an additional verification factor after entering their password.
Accounts that sign in through SSO are not prompted for signageOS MFA. For these users, multi-factor authentication is enforced by your own identity provider (IdP) — keeping MFA policy under your organization's control, where SSO users already authenticate.
How to recover MFA
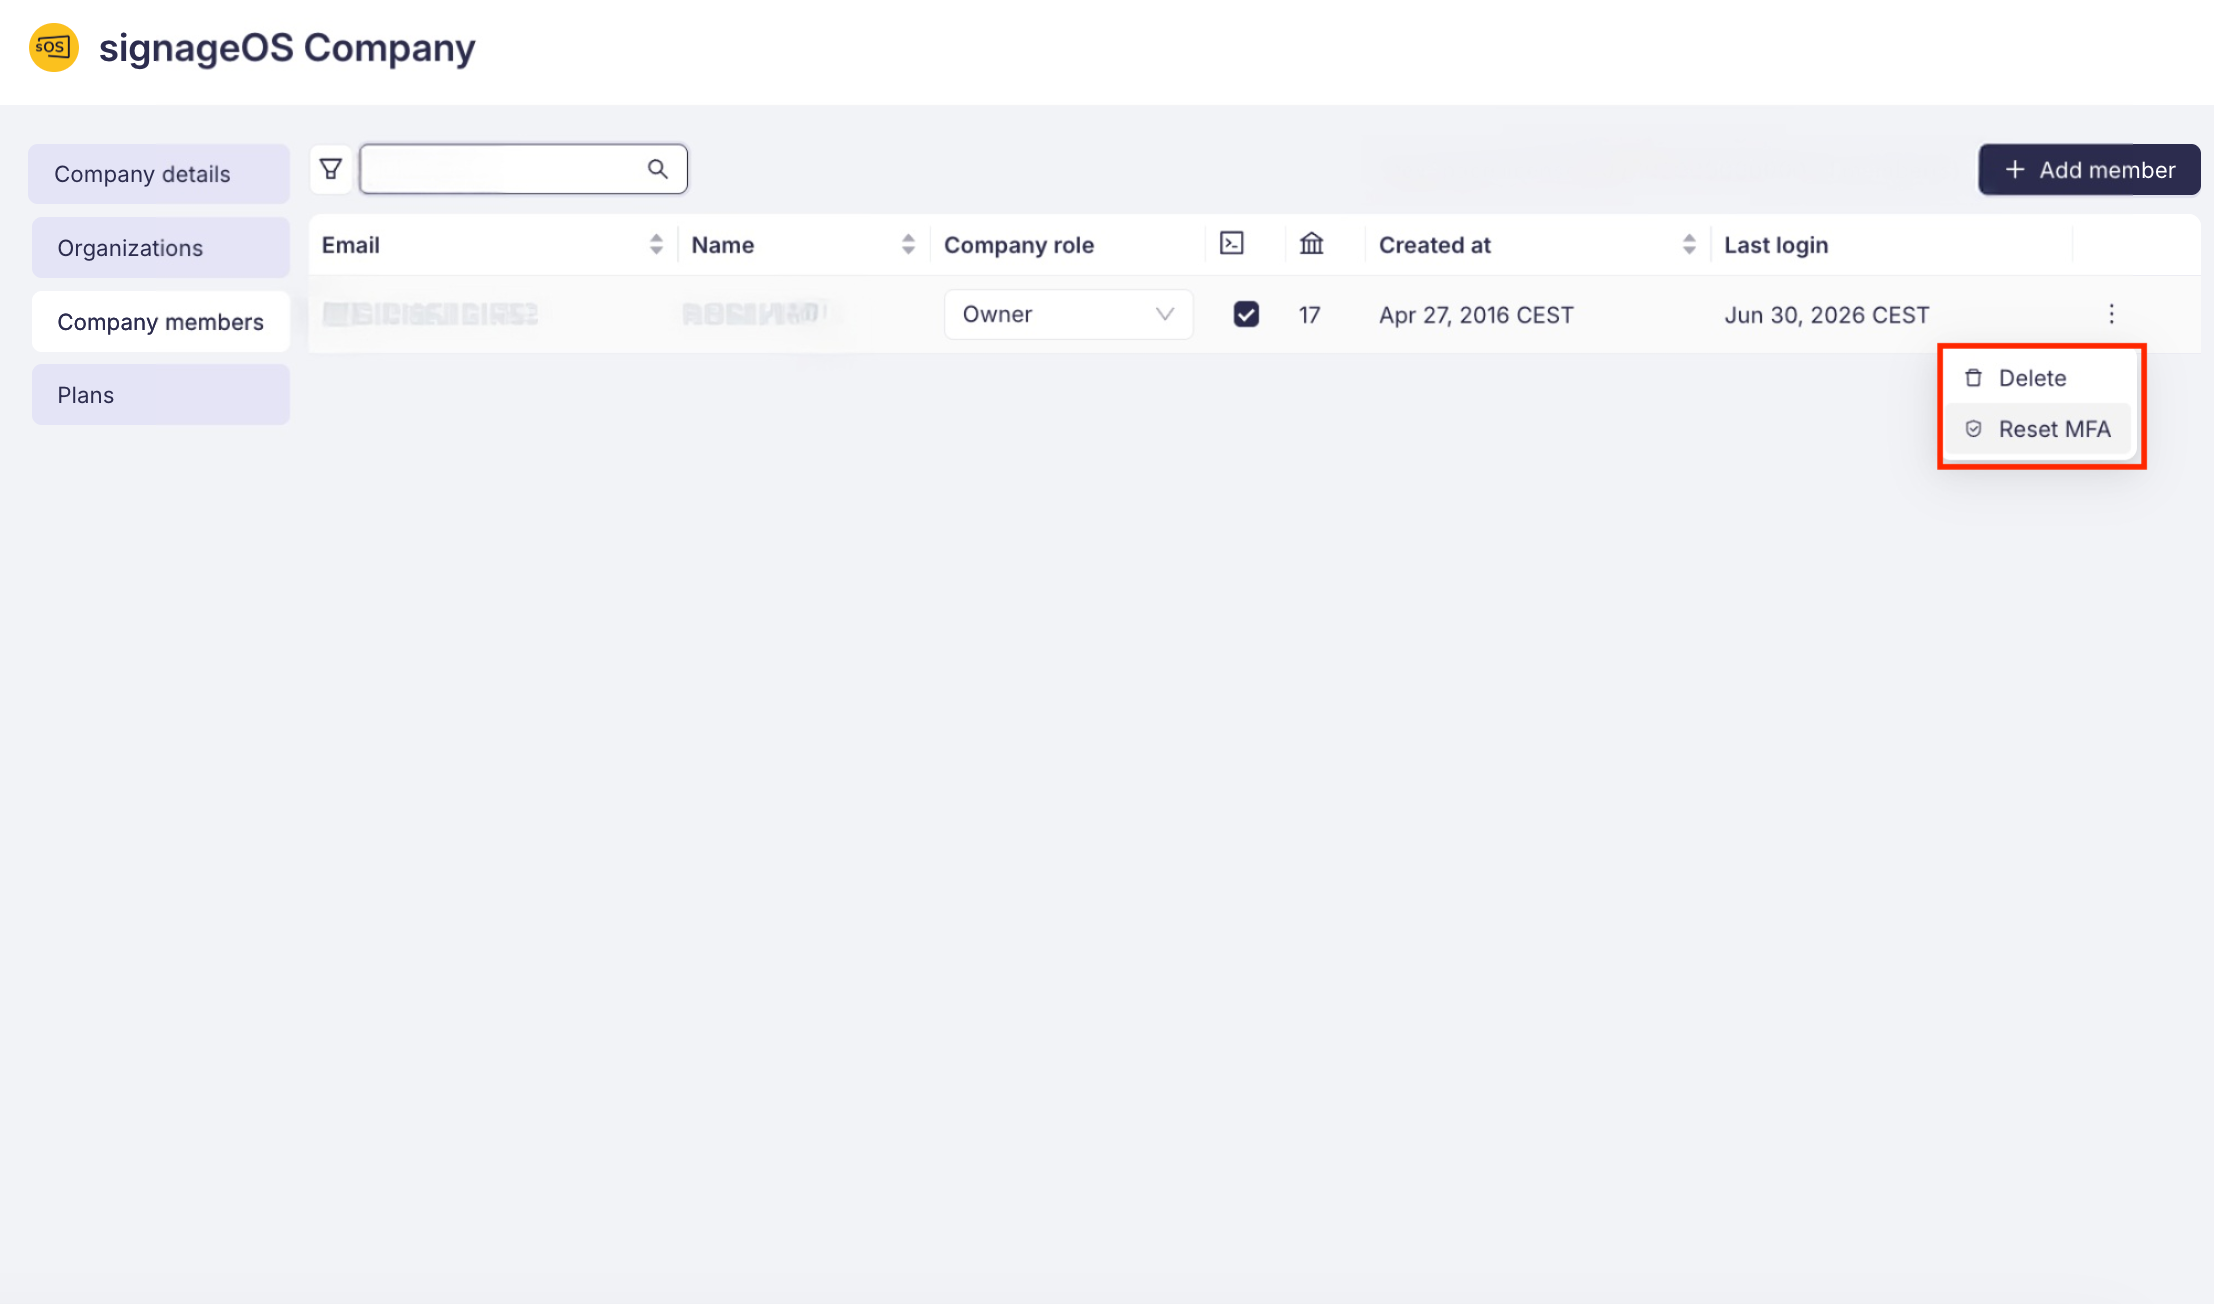
If a user loses access to their enrolled authentication factors, a Company Manager/Owner can reset MFA for that member. Resetting removes all of the user's enrolled MFA factors — the user will be prompted to set up MFA again on their next login (if MFA is still required by the company).
- In Box, open your Company and go to the Members list.
- Find the member whose MFA you want to reset — you can search by email or name.
- Open the member's row actions and select Reset MFA.
- In the confirmation dialog, confirm the action.
- The member's enrolled MFA factors are removed. They will be prompted to set up MFA again on their next login.
If the member does not have MFA enabled, this action has no effect.
Configuring Single Sign-On (SSO): Identity provider (IdP) setup guide
This guide details the steps your Identity Provider (IdP) administrator must take to configure a SAML 2.0 Single Sign-On (SSO) connection with our service.
The process is divided into two parts: The information you send us, and the configuration you perform on your system.
1. Information to send us (before setup)
To begin, please send us the following unique identifier so we can generate our Service Provider (SP) configuration details:
| Required from you | Purpose | Example |
|---|---|---|
| Proposed connection name | A unique, clear name for this SSO connection (e.g., Your Company Name, plus the IdP used) | Acme-Corp-Azure-AD |
2. Information we send you (For your configuration)
Once we receive your proposed connection name, we will generate the following required details and send them to your administrator. These identify us as the service you are connecting to.
| Provided by us | Your IdP field name | Example |
|---|---|---|
| Assertion Consumer Service (ACS) URL | Reply URL / Single Sign-On URL | Signageosauth0.amy.dev.signageos.io/login/callback?connection=Acme-Corp-Azure-AD |
| Entity ID | Audience URI / SP Entity ID | urn:auth0:sos-amy:Acme-Corp-Azure-AD |
3. Mandatory configuration on your Identity provider (IdP)
Your administrator must now create and configure a new SAML application within your IdP's management portal (e.g., Azure AD, Okta, Google Workspace).
Configure the connection details
You will use the ACS URL and Entity ID provided by our team.
- Create New Application: Start by creating a new SAML 2.0 application/connection within your IdP (e.g., "Add Gallery App")
- Input our Details: Enter the following values in the corresponding fields:
- ACS URL (Reply URL): Paste the ACS URL we provided
- Entity ID (Audience URI): Paste the Entity ID we provided
- Optional Fields:
- Start URL / Single Sign-On URL: This field is usually left blank for an SP-initiated flow
Configure user attribute mapping
The SAML response must include the user's email address so we can identify them in our system.
- Locate Attributes/Claims: Navigate to the Attributes, Claims, or User Mapping section of your IdP setup
- Define Email Attribute: Configure a claim that maps the user's profile email address to a specific attribute name
- Goal: The value sent must be the user's unique email address
- Example: Map the user's email address to an attribute named
EmailAddress
4. Final Information to send back to us
Once your IdP configuration is complete and saved, please extract the following three credentials and securely send them to our technical team to finalize the connection on our side:
We will confirm receipt of these details, complete our final setup, and then coordinate a test login with you.
| Required by us | Description | Source on your IdP |
|---|---|---|
| 1. Sign In URL (SSO URL) | The specific URL your IdP generates for initiating the Single Sign-On process | Often labeled SSO URL, IdP Login URL, or SAML Endpoint |
| 2. X.509 Signing Certificate | Your IdP's public signing certificate. This is used to verify the integrity of the SAML message | Often provided as a downloadable .cer, .pem, or .txt file, or as a string of text |