Enabling Multiple Display Configuration on BrightSign XT and XC
Introduction
This configuration in registry allows to set up multiscreen output on BrightSign players - XC5 and XT4/5.
How it works
By adjusting customVideoMode BrightSign registry settings to configure multiscreen output user can configure exact position and canvas size.
You can set this configuration via Plugin, Registry or Shell terminal.
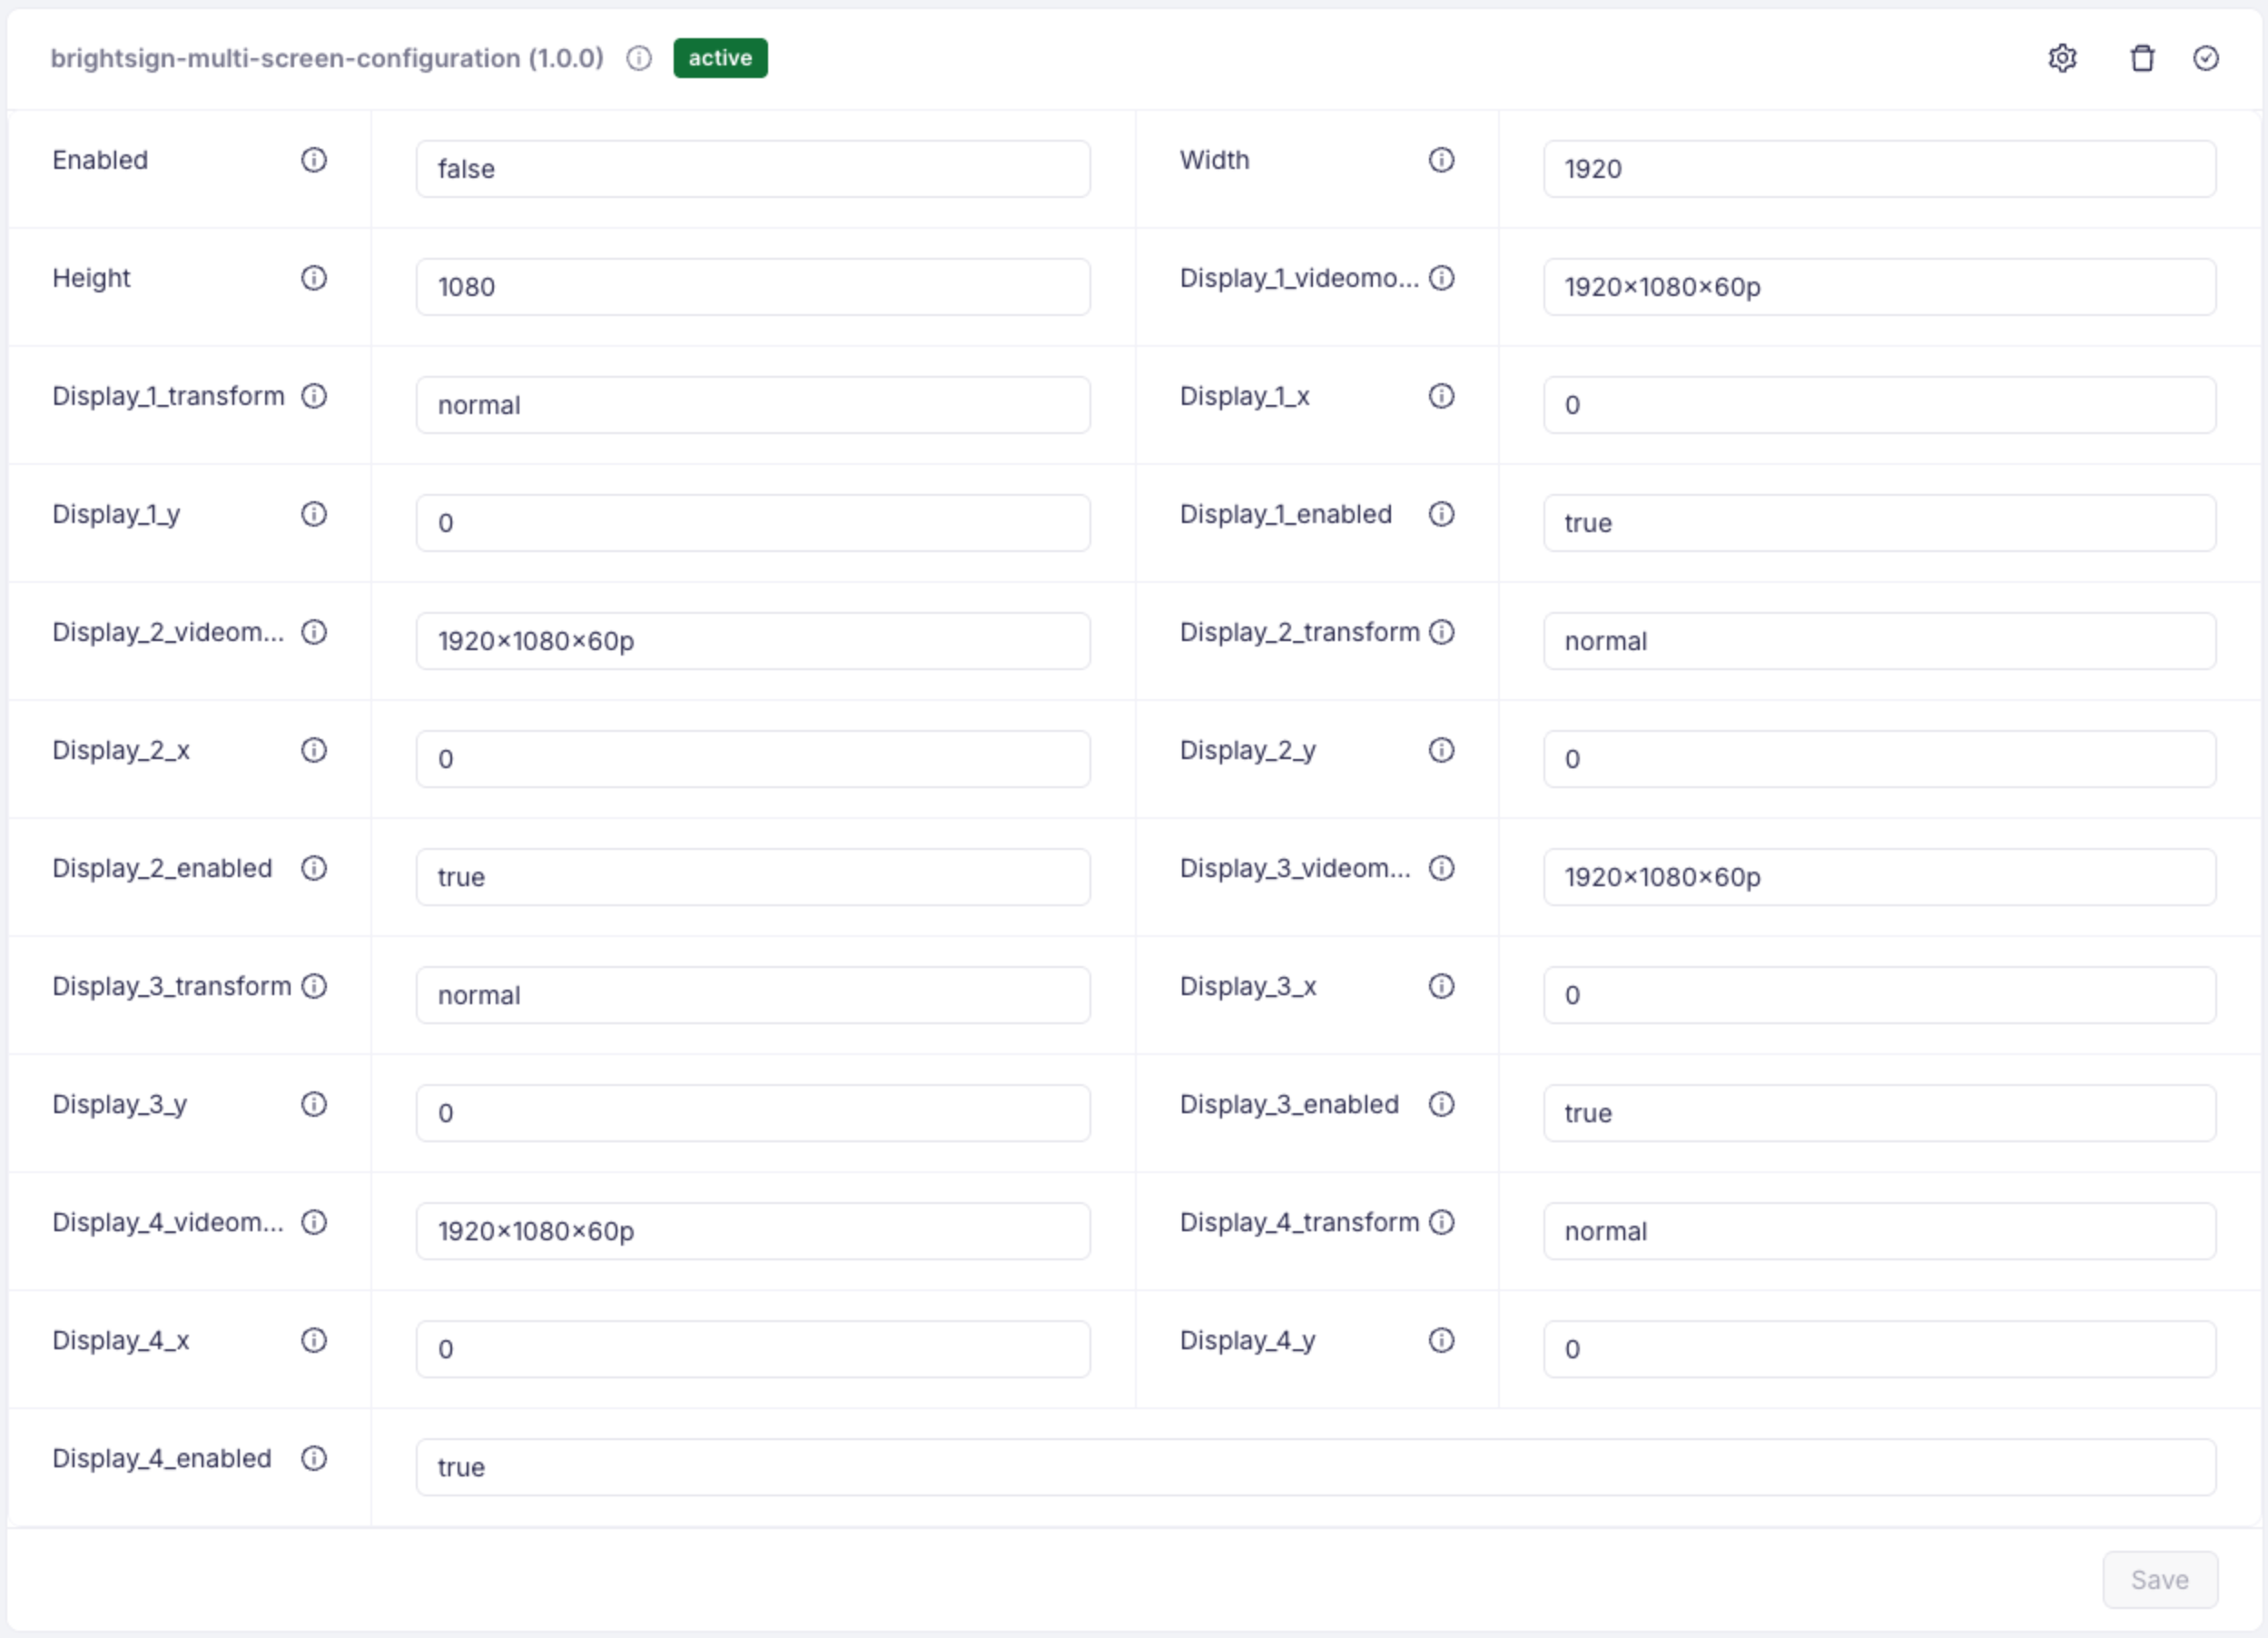
Plugin Configuration
- Install brightsign-multiscreen-configuration Plugin to your Organization
- Assign it to your BrightSign XT/XC
- Pass necessary configuration
Registry Configuration
Registry Section: customVideoMode
Keys:
| Key | Value | Description |
|---|---|---|
enabled | "1" or "0" | Set to "1" to enable the custom video mode configuration. |
configuration | JSON String | A JSON object containing the multiscreen layout details. |
Configuration JSON Structure
The configuration key expects a JSON string. Below is the structure with default values:
{
  "width": 1920,
  "height": 1080,
  "display\_1\_videomode": "1920x1080x60p",
  "display\_1\_transform": "normal",
  "display\_1\_x": 0,
  "display\_1\_y": 0,
  "display\_1\_enabled": true,
  "display\_2\_videomode": "1920x1080x60p",
  "display\_2\_transform": "normal",
  "display\_2\_x": 0,
  "display\_2\_y": 0,
  "display\_2\_enabled": false,
  "display\_3\_videomode": "1920x1080x60p",
  "display\_3\_transform": "normal",
  "display\_3\_x": 0,
  "display\_3\_y": 0,
  "display\_3\_enabled": false,
  "display\_4\_videomode": "1920x1080x60p",
  "display\_4\_transform": "normal",
  "display\_4\_x": 0,
  "display\_4\_y": 0,
  "display\_4\_enabled": false
}
Note: When using values in the registry, ensure the JSON is valid. Boolean values (
true/false) and numbers (1920) should not be quoted, but string values ("normal") must be.
How to Set Values Using Diagnostic Web Server (DWS)
You can configure these values directly through the BrightSign Diagnostic Web Server (DWS) user interface.
-
Access DWS:
- Open a web browser and navigate to the IP address of your BrightSign player (e.g.,
http://192.168.1.10). - Log in (default username is
admin, password is usually the device serial number).
- Open a web browser and navigate to the IP address of your BrightSign player (e.g.,
-
Navigate to Registry:
- Click on the Registry tab in the top navigation bar.
-
Add Configuration Keys:
You will need to add two entries to the registry.
Entry 1: Enable the Plugin
- Add
registry write customVideoMode enabled "1" - Click Submit
Entry 2: Set Configuration
- Add
registry write customVideoMode configuration "{...}" - Value: Paste your configuration JSON string.
- Tip: It is recommended to minify your JSON (remove newlines and extra spaces) before pasting it into the Value field to avoid any parsing issues, although the player may handle it.
- Example Value:
{"width":3840,"height":1080,"display_1_enabled":true,"display_2_enabled":true,...}
- Click Submit
- Add
-
Reboot:
- After adding the registry keys, the player typically needs to be rebooted for the changes to take effect (as the plugin checks these values on startup). Go to the Control tab and click Reboot.
How to Set Values Using Shell (registry write)
If you are using the serial console, SSH, or the "Shell" feature in DWS (if enabled), you can use the registry write command.
-
Enable the Plugin:
registry write customVideoMode enabled 1
2.  **Set Configuration:**

    Since the configuration is a JSON string, you must properly escape quotes when entering it in the shell.

    ```shell
registry write customVideoMode configuration "{\\"width\\":3840,\\"height\\":1080,\\"display\_1\_videomode\\":\\"1920x1080x60p\\",\\"display\_1\_enabled\\":true,\\"display\_2\_videomode\\":\\"1920x1080x60p\\",\\"display\_2\_enabled\\":true}"
-
Verify:
You can check the values using
registry read:
registry read customVideoMode configuration