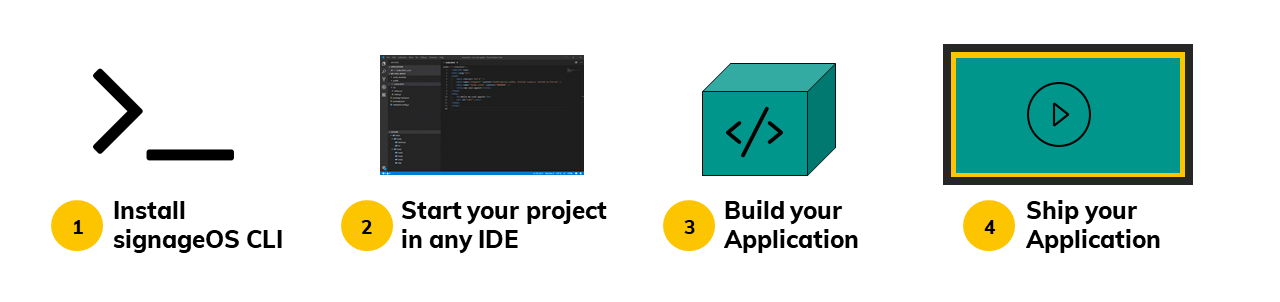
Philips Device Provisioning
Attention Required: Android, in general, does not support application downgrade. Once you update to a higher version of the Core App, there is no other way to then reinstall on the device.
To exit from SignageOS app to Android launcher you need to press red button on the IR remote control and under settings choose the launcher which you need.
Looking For Supported Philips Displays And Firmwares?
Installation Guide
In order to install signageOS App on Philips, please follow these steps:
-
Turn on the display
-
Download signageOS latest Android app to USB flash drive, the latest app is at https://a.signageos.io/
-
Insert flash drive with our app into Philips’ USB port, make sure to use the correct USB port, otherwise there might be permission issues
-
Press HOME and 1888 on the remote control
-
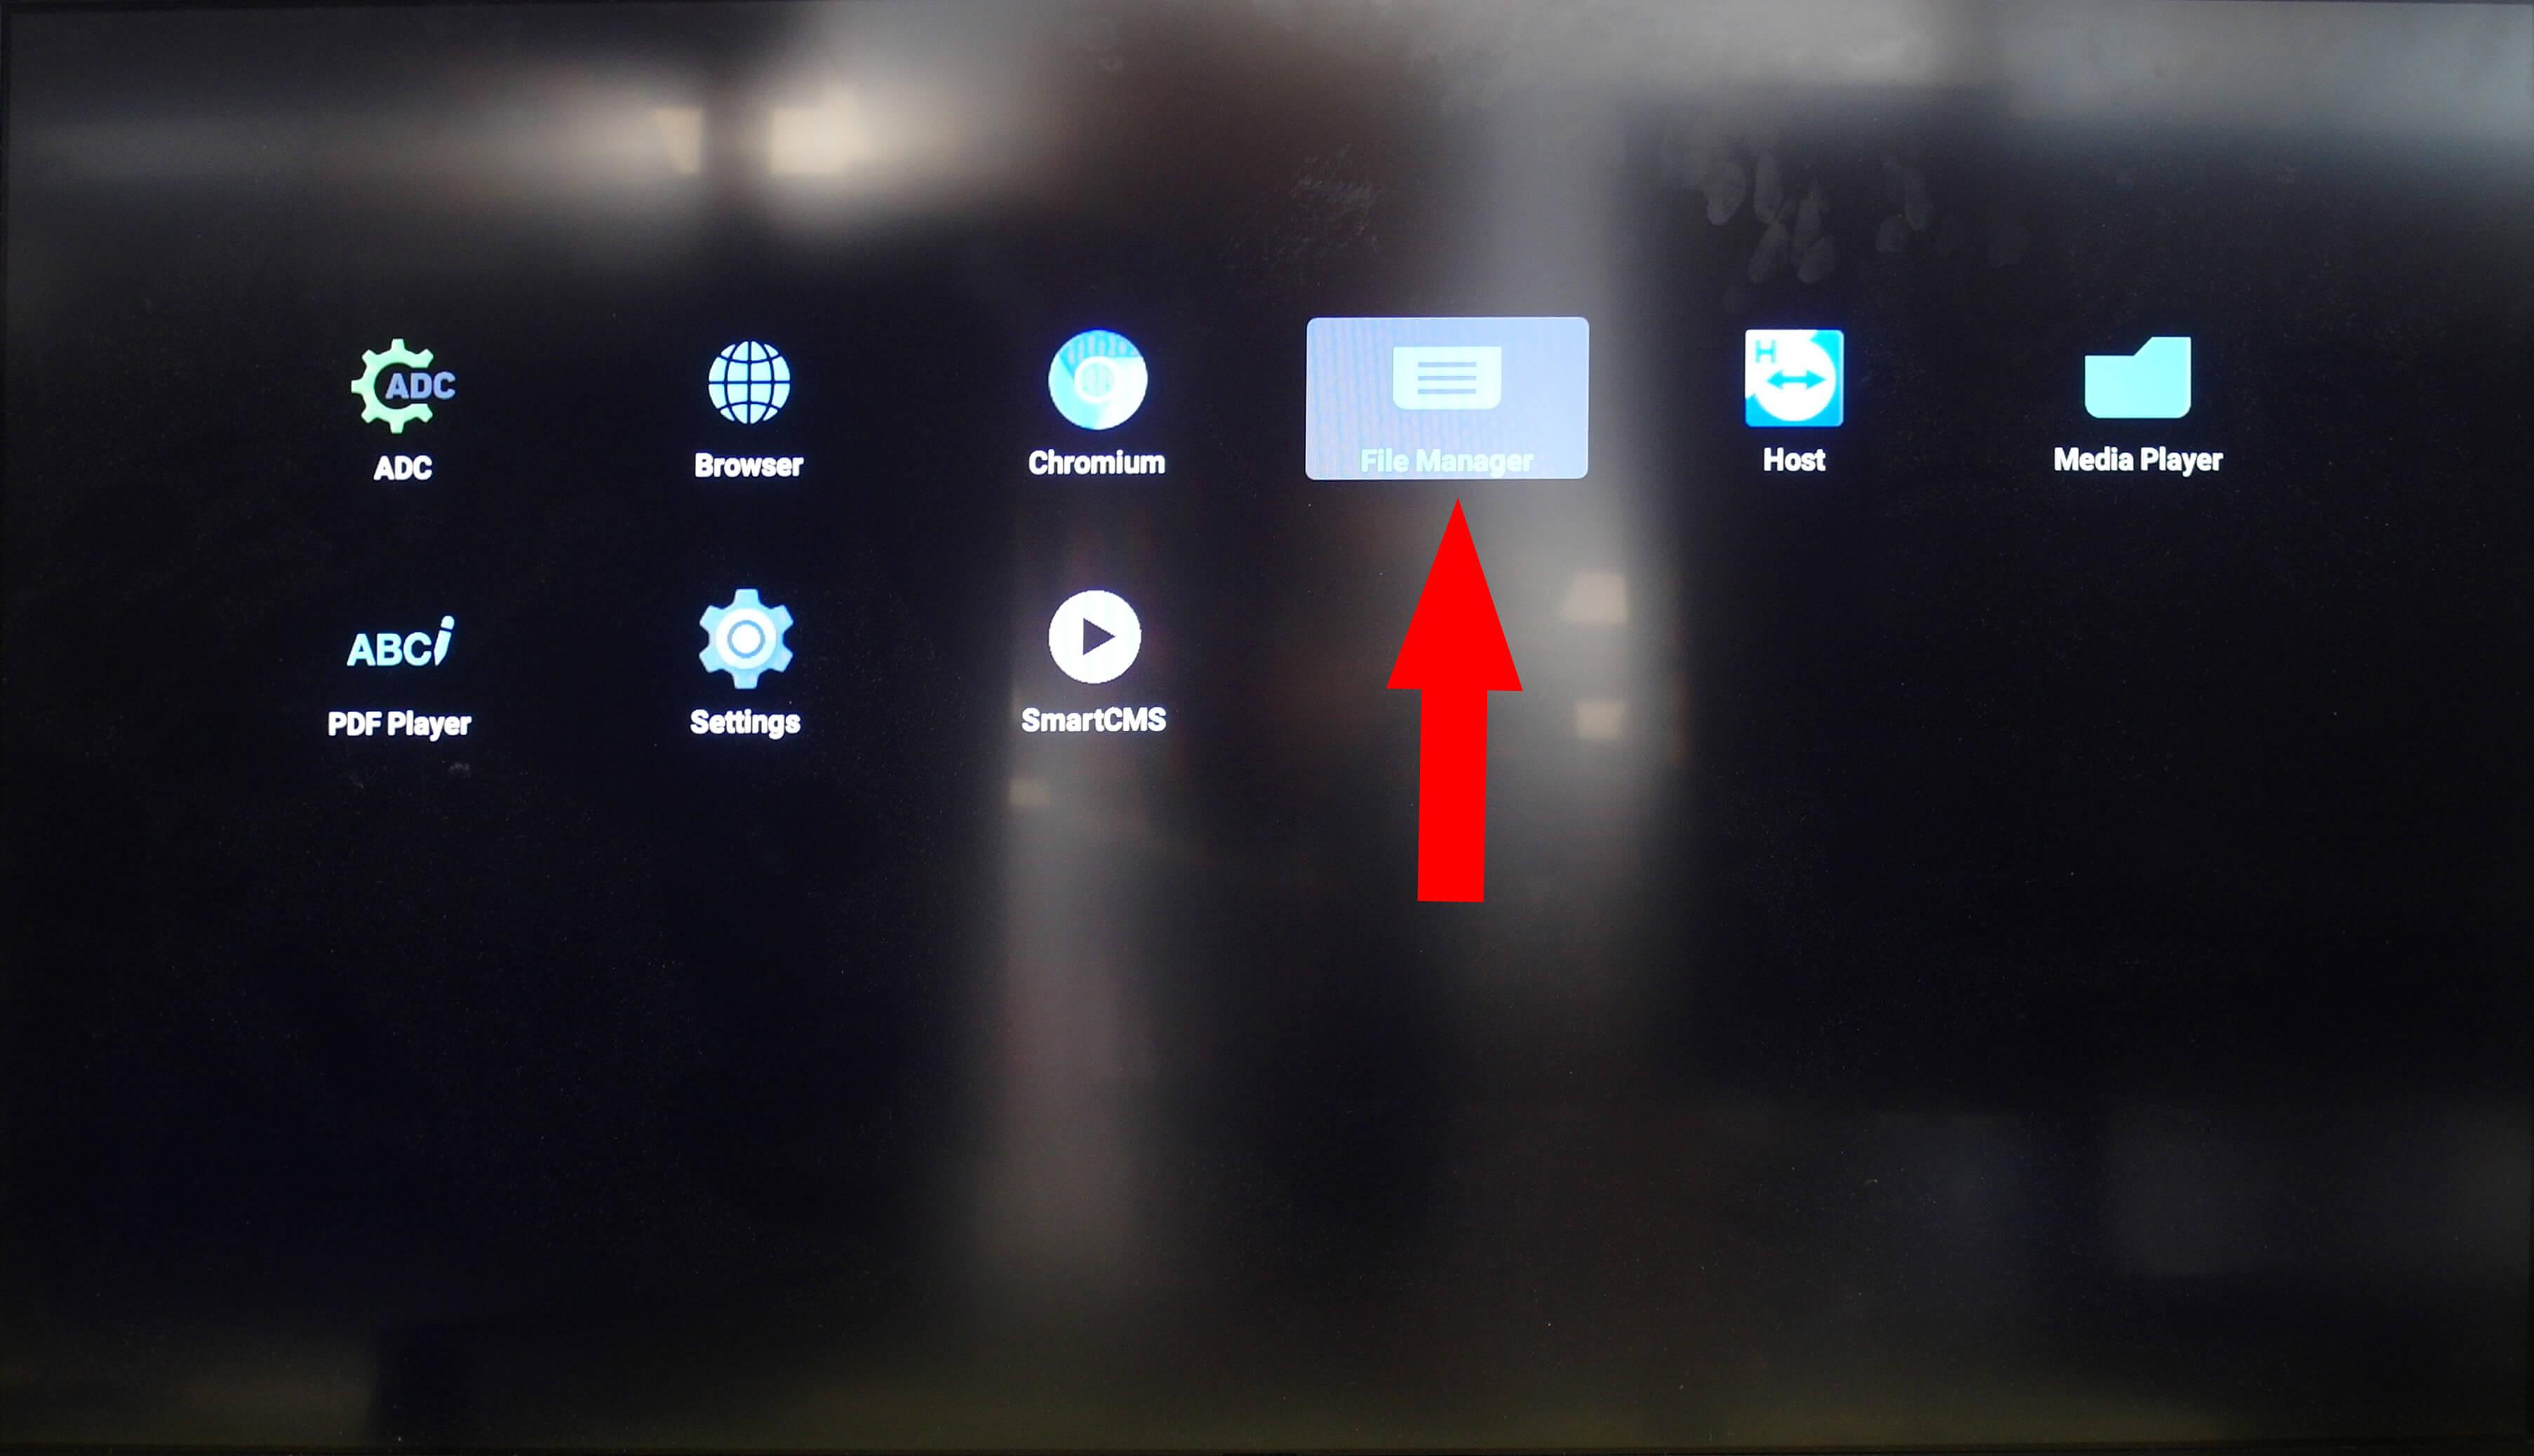
Select Apps
-
Select File Manager
-
Navigate to
/mnt/usb/ -
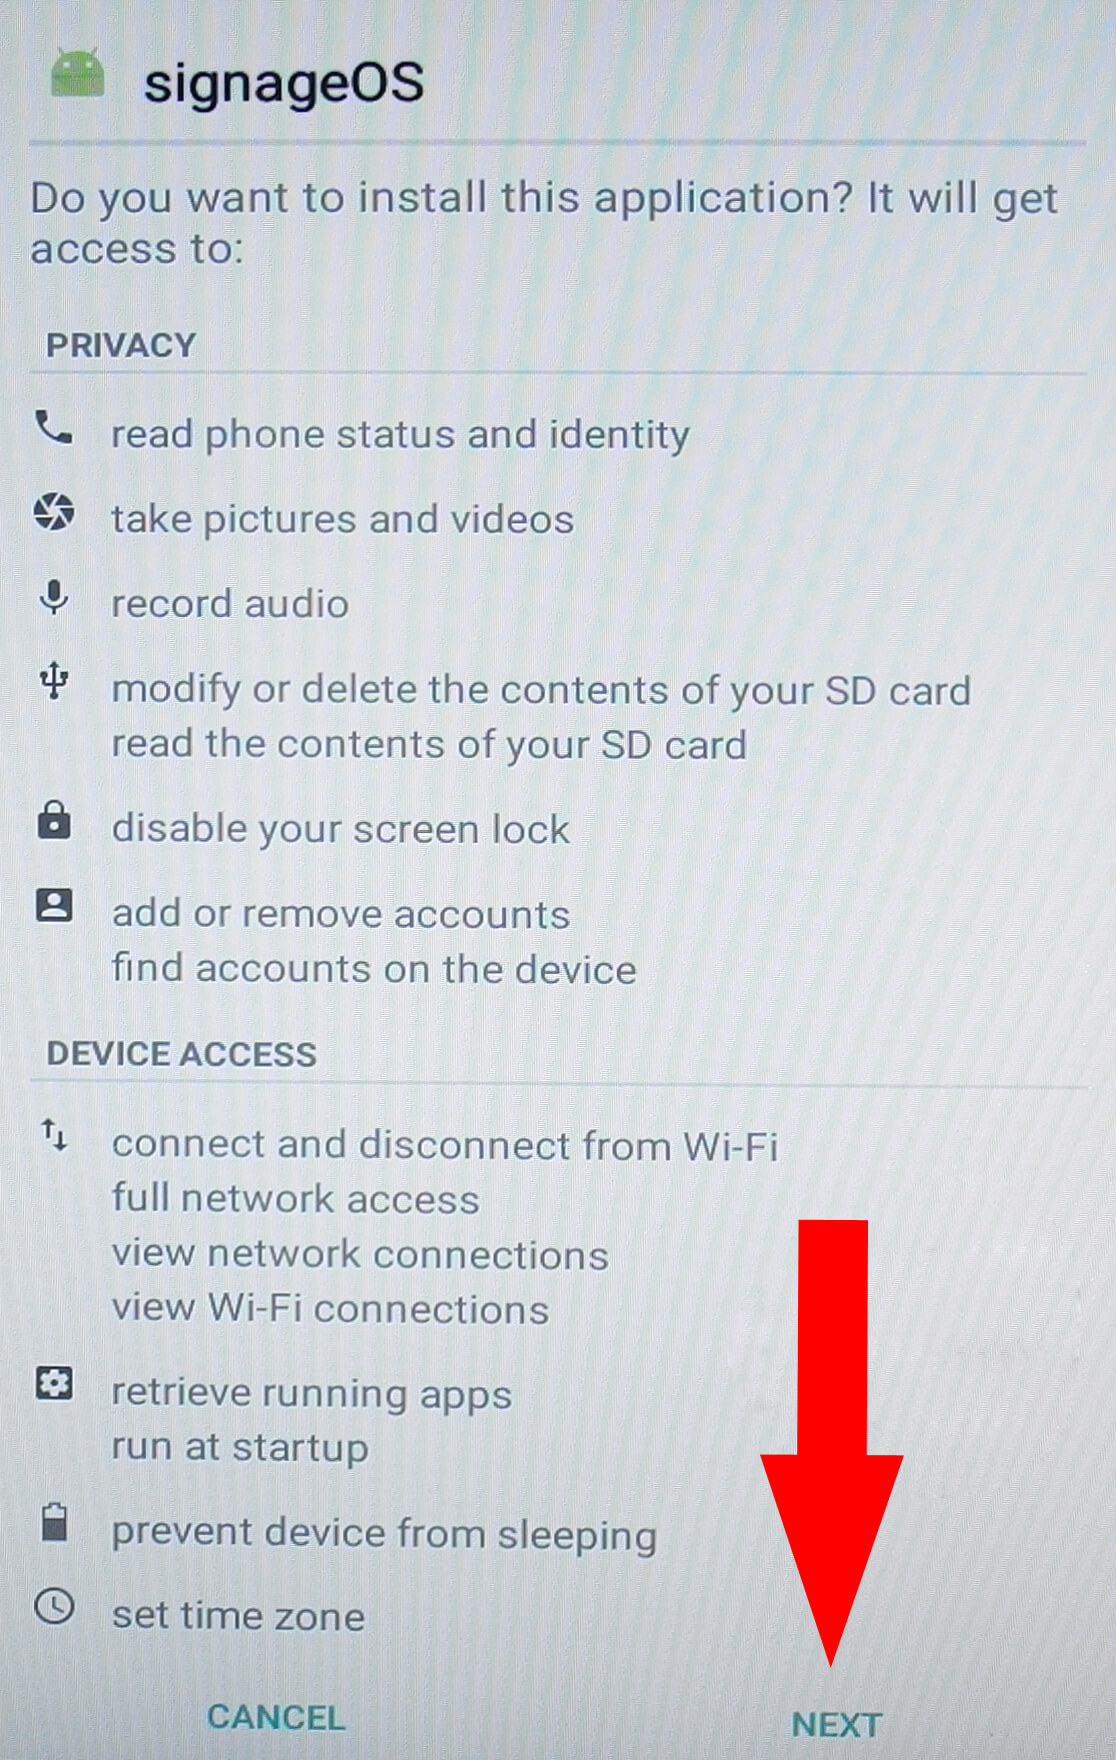
Select signageOS App
-
Select Install
-
Go back to HOME
-
Select Settings

For 10" Touch 10BDL
- Go to Apps section
- Select Signage Apps
- Check signageOS App and primary Signage App
- Restart the display
To access Android setting press MENU and VOLUME DOWN simultaneously to bring up the options
For any other Philips display
- Go to Signage Display section and Boot section
- Select Custom App
- Check signageOS App is set as custom app, if not, select it
- Restart the display
Note for Philips 10BDL415T
-
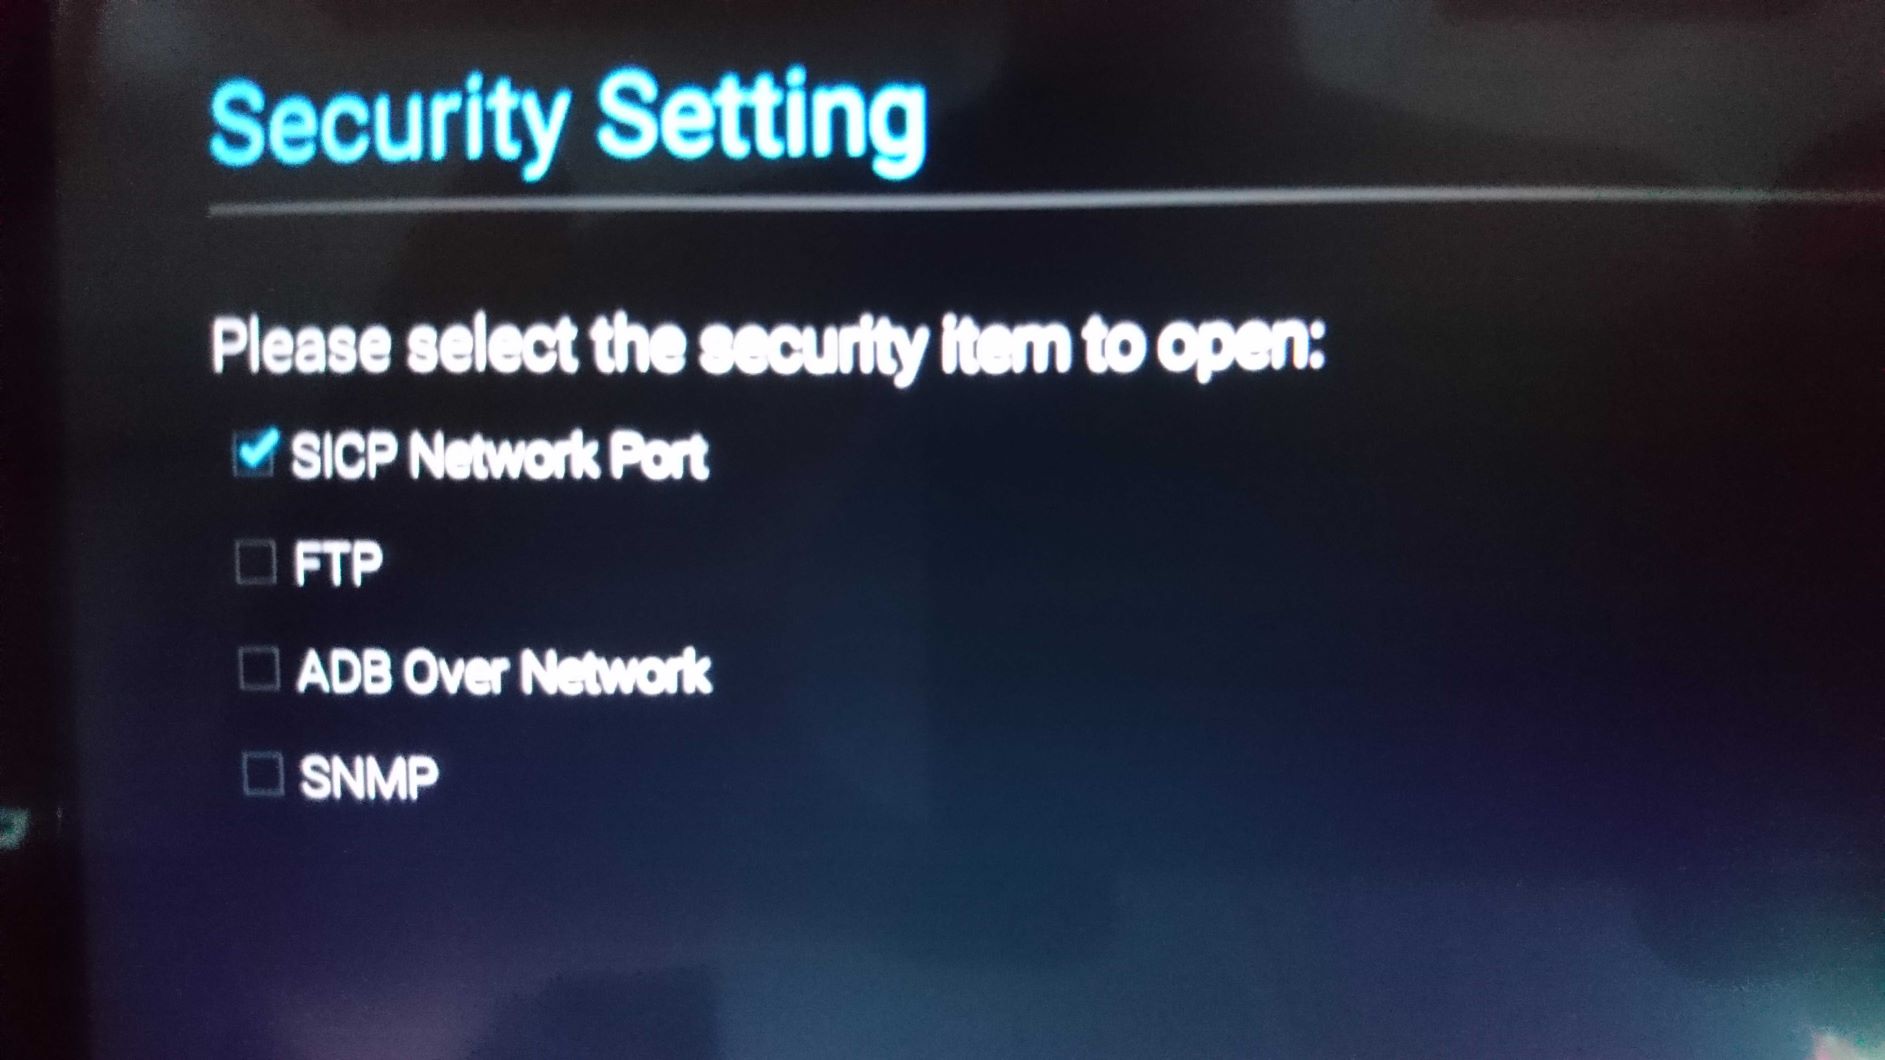
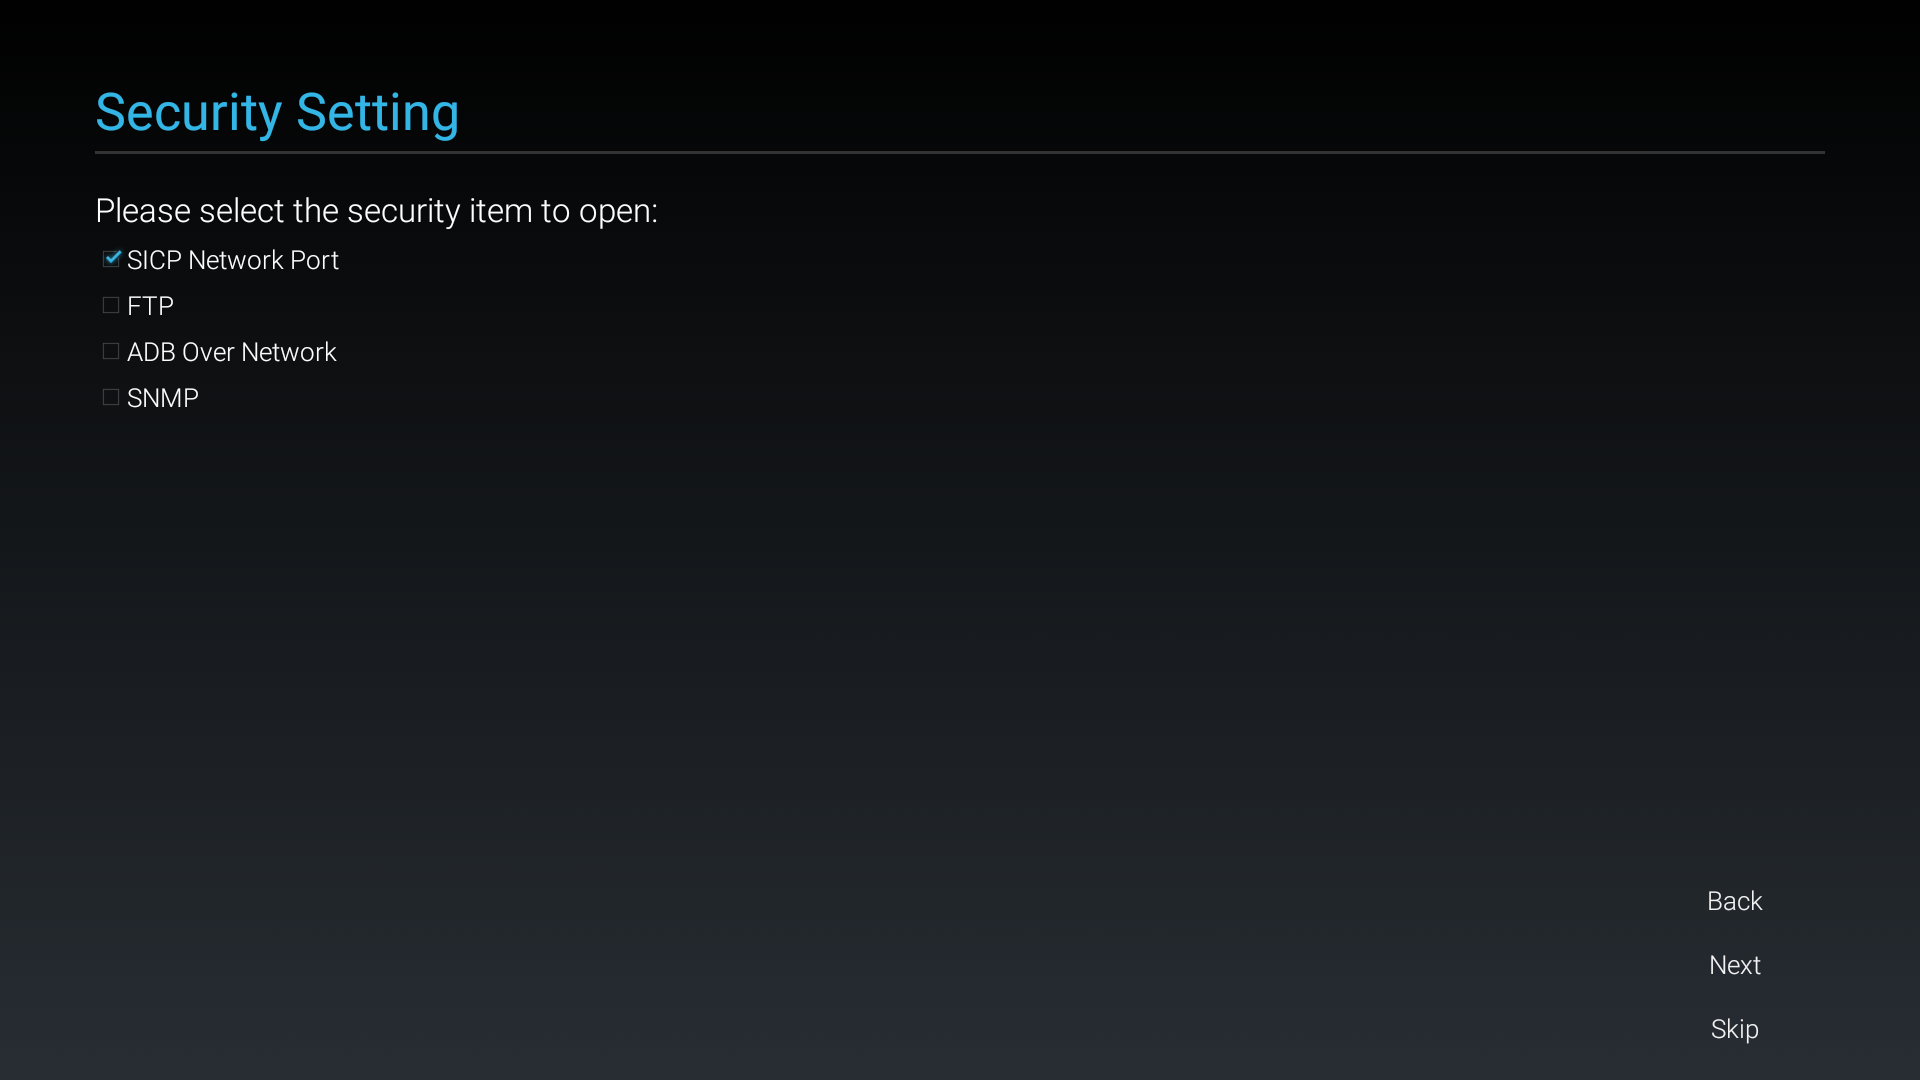
During initial startup of the device you will be prompted with option of features to enable
-
Make sure that SICP option is enabled (under Security Setting)
-
Proceed with provisioning like any other Philips device
Mandatory SICP settings
To make sure your Philips display will support all device management features, you have to enable SICP over LAN settings.
Android 4.4-6.0:
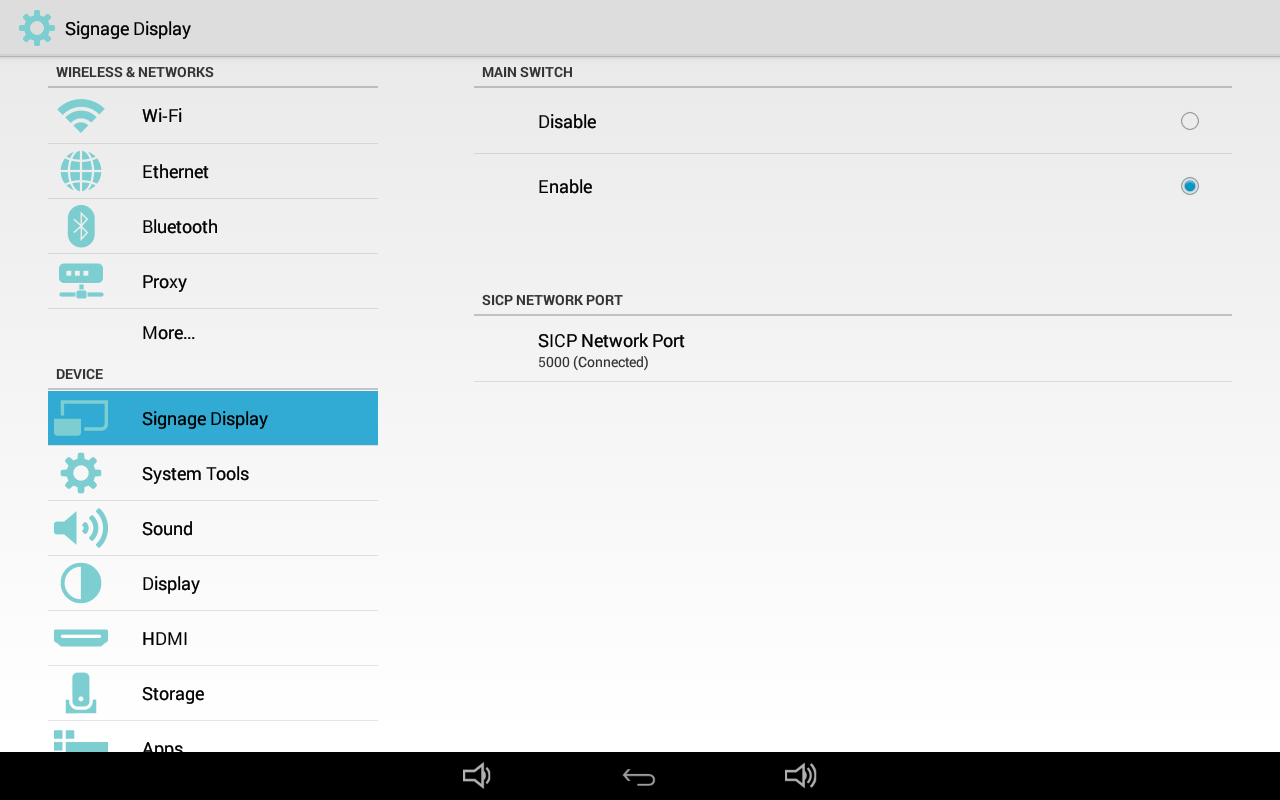
- Go to Settings > Signage Display > SICP Network Port.
Android 7.x:
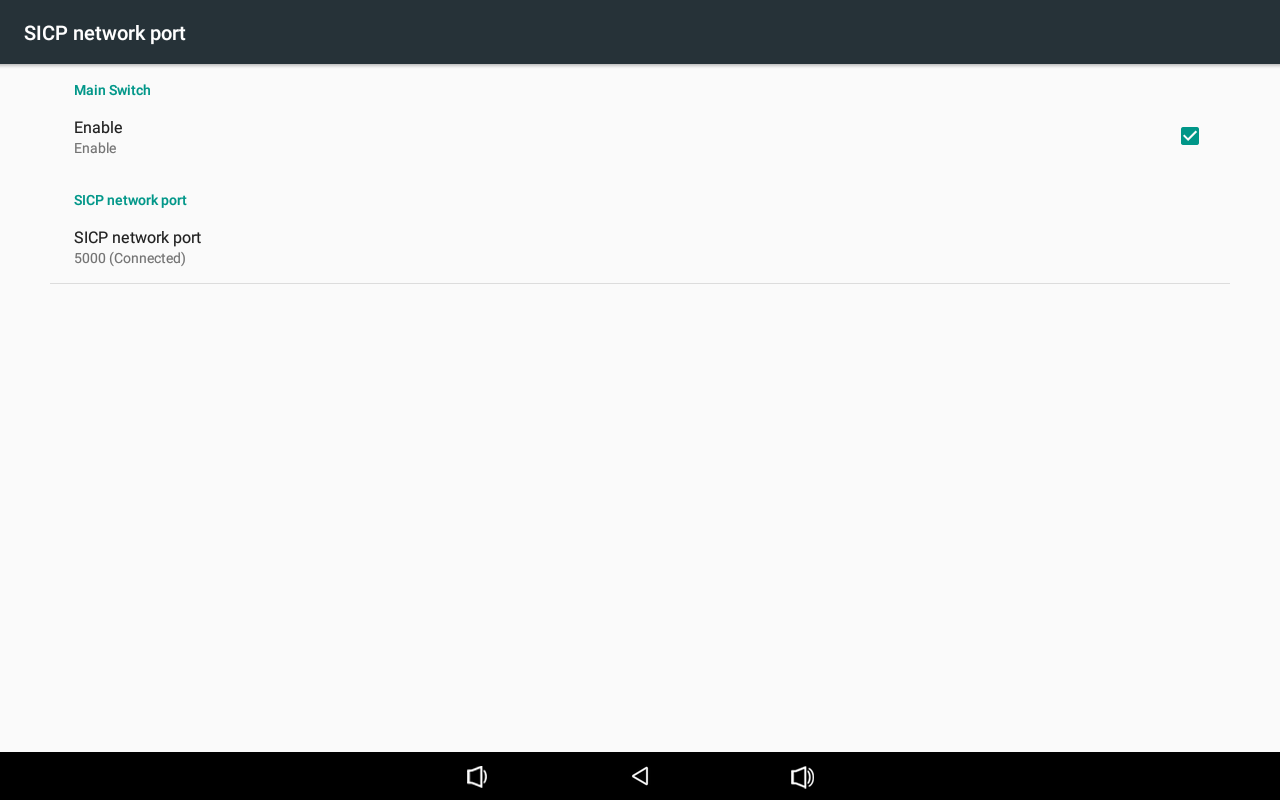
- Go to Settings > Signage Display > Network application > SICP network port.
Make sure that Main Switch is set to Enabled and SICP Network Port reads 5000 (Connected). Adjust both settings accordingly.
SICP settings during initial setup
SICP settings on Android 4.4-6.0 in Settings menu
SICP settings on Android 7.0 in Settings menu
Attention Required: In order to prevent Android from displaying Android homepage and thus not showing your content, you must Enable Kiosk Mode (or Lock Remote Control) either through Box device settings or through API.
Always set the Remote Control Lock to enable via REST API or in Box on the device detail's Settings tab.
Once display started with signageOS App you will see short Verification code in the middle of the screen.
Highly recommended steps for P-line:
To deliver the best performance we highly recommend to remotely update Android webview. The preinstalled version is 39 which is a very old one. The package name for latest tested webview is v.62.0.3202.66 320206600 (00 = ARM architecture) and can be updated from Box.
FAQ
My USB flash storage device is not detected
Some devices have dedicated USB ports for storage devices, if your storage device does not show up as described in the provisioning steps use a different USB socket and your flash drive should be detected
Flipped orientation doesn't work
Unfortunately, due to hardware limitations 3550Q and 4550D models can only do portrait and landscape